Parent Ad Management (Advisers)
🎓 Managing Parent Ads in Your Yearbook Project
As a yearbook adviser, you are the only team member who can review and manage ads submitted by parents.
To begin managing ads, click the "Parent Ads" button from your project dashboard.
📂 Ad Status Categories
You will see four categories that organize ads based on their current status.
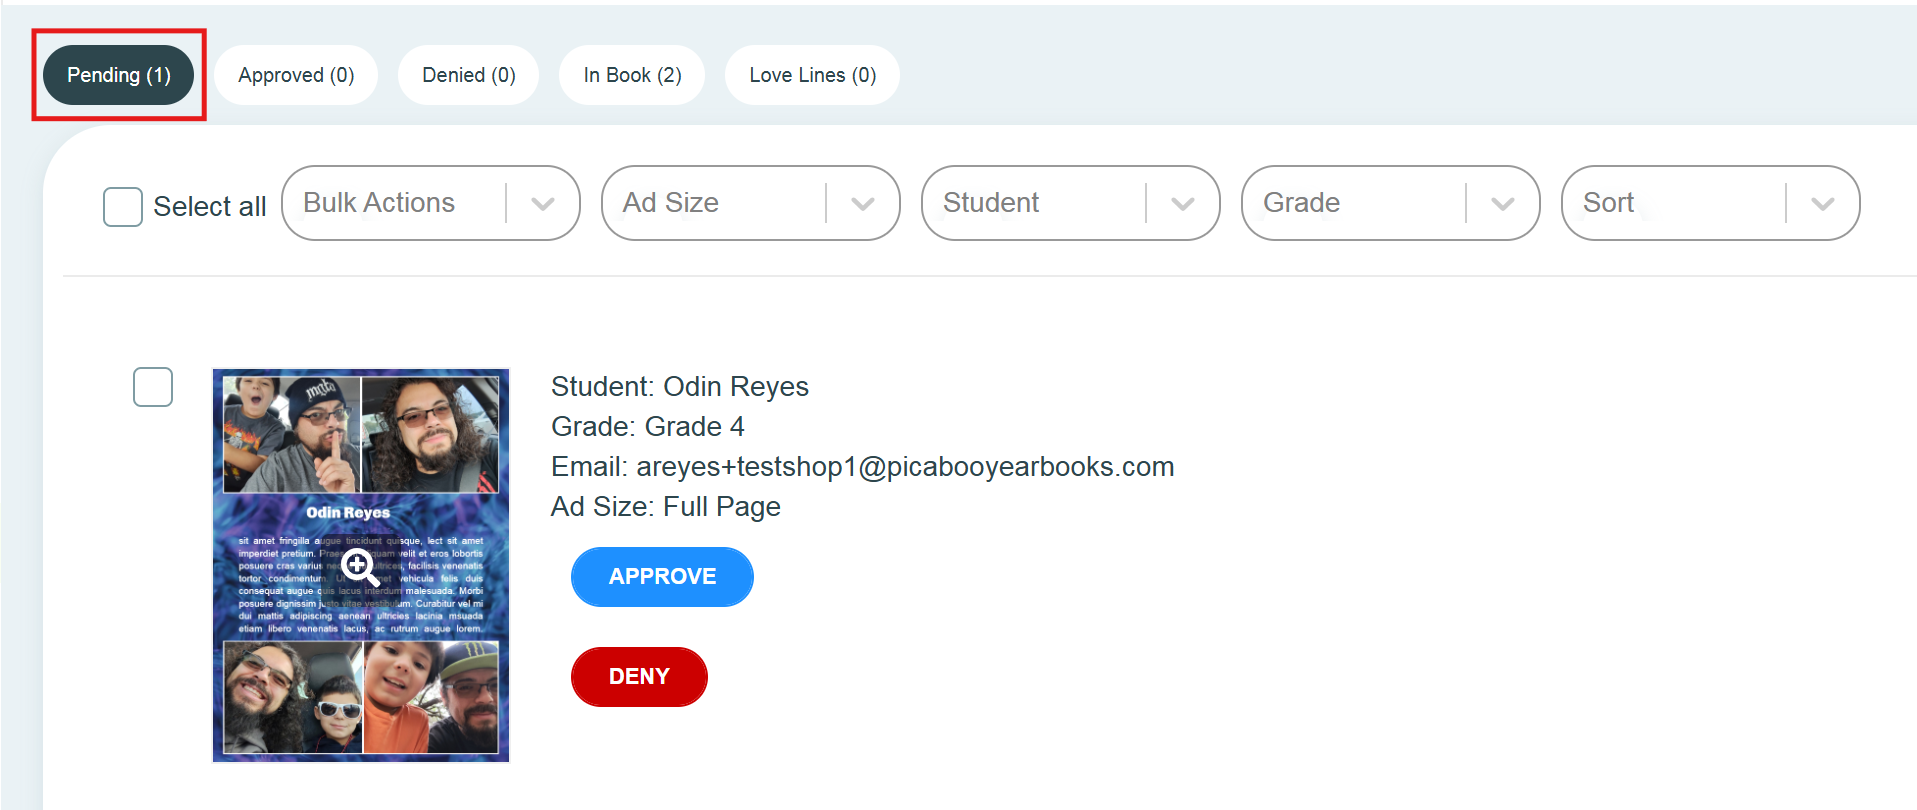
🕒 Pending

Pending ads are ads that parents have purchased and submitted for review.
When reviewing:
-
Check for spelling errors
-
Confirm images display correctly
-
Ensure content is appropriate
Actions available:
-
Approve — moves the ad to the Approved category
-
Deny — sends the ad back to the parent for edits
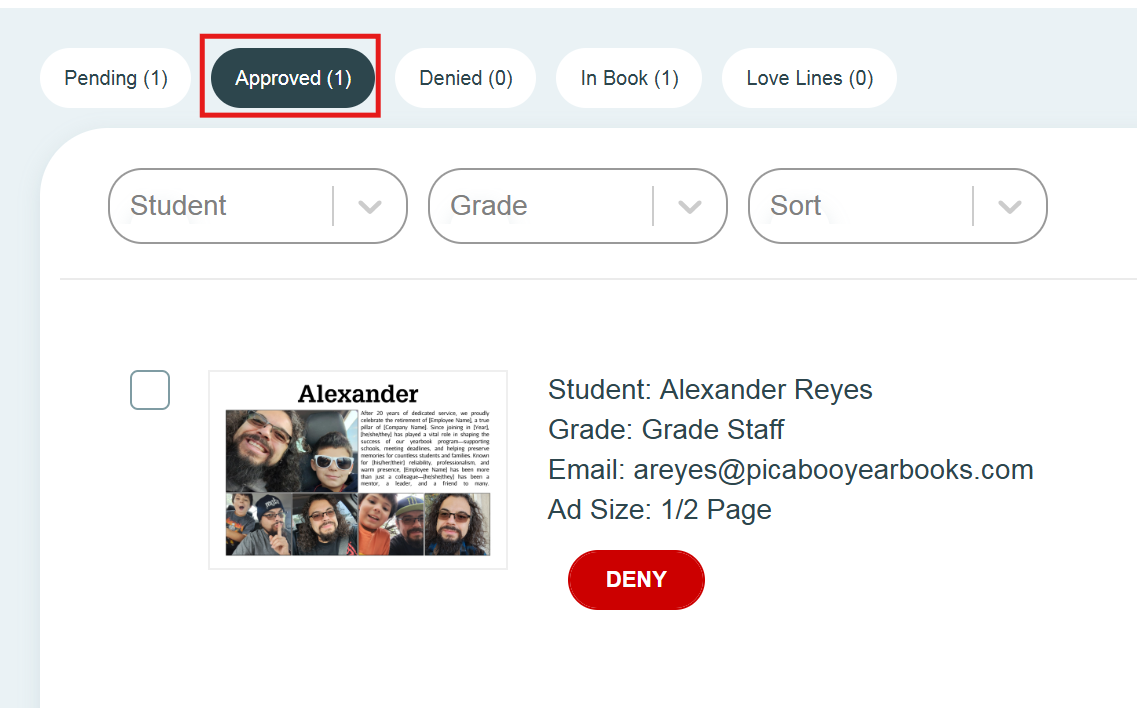
✅ Approved

When you click Approve, the ad moves to the Approved category.
From here:
-
The ad is ready to be placed into an ad section.
-
Once placed on a page, it will automatically move to In Book status.
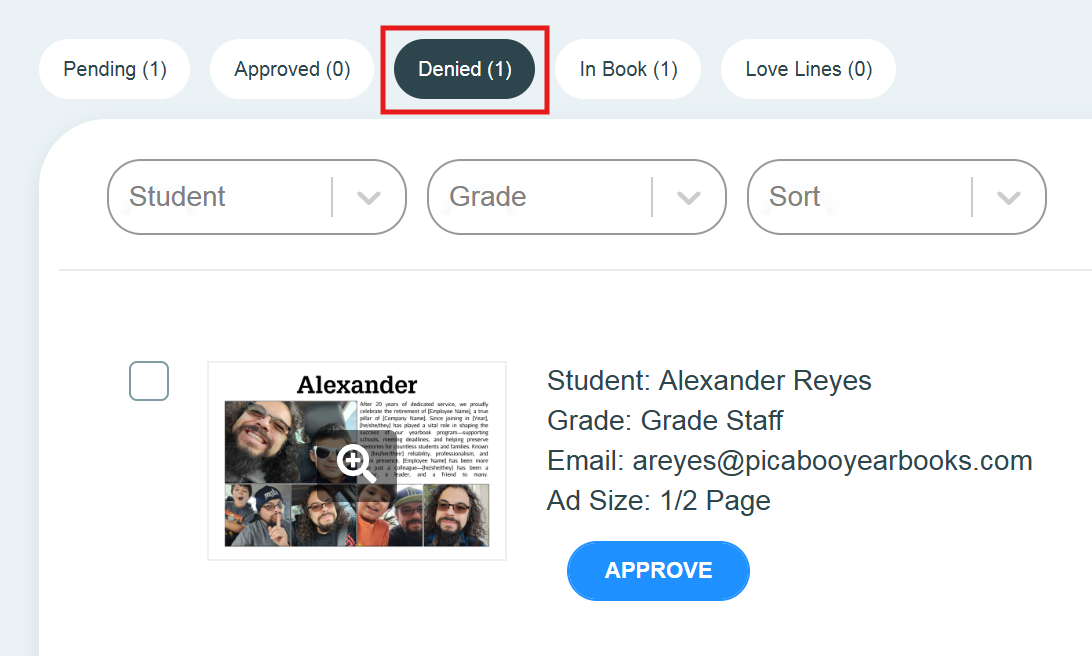
❌ Denied

When you click Deny, a Deny Ad modal appears.
This modal allows you to:
-
View ad details
-
Enter a reason for denial
-
Provide instructions for correction
Click Deny & Send to:
-
Email the parent automatically
-
Provide them with a link to edit their ad
-
Return the ad to them for correction
Status behavior:
-
The ad remains in Denied until the parent edits and resubmits it.
-
Once resubmitted, it moves back to Pending for review.
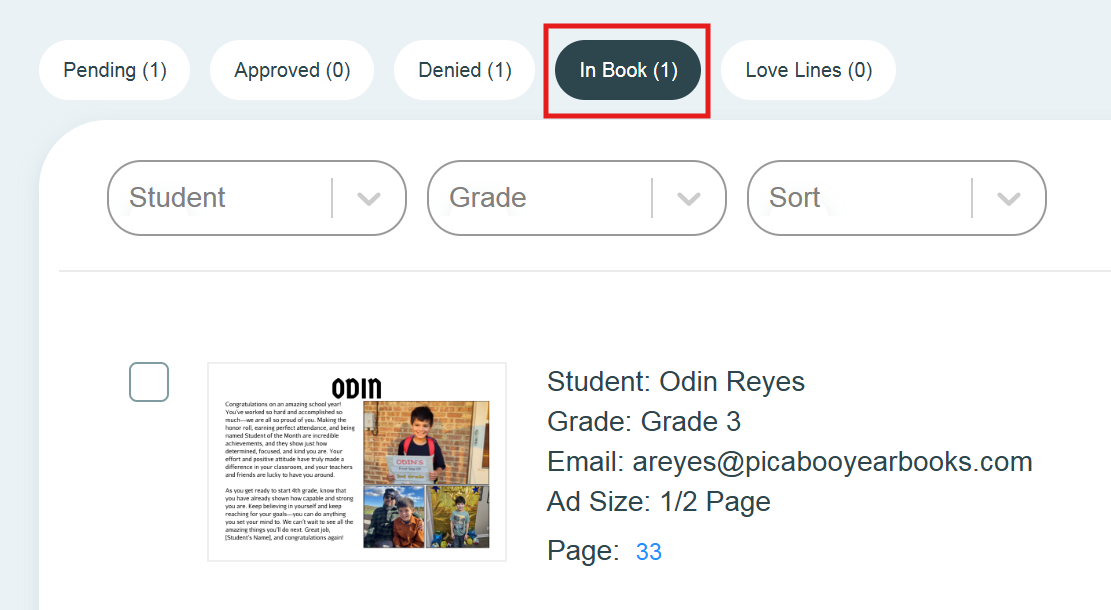
📘 In Book

When an approved ad is placed on a page, it moves to In Book.
Important:
-
Ads in this category cannot be denied while they are placed on a page.
-
To deny an in-book ad, you must first remove it from the page.
🔎 Sorting and Filtering Ads
If you have many ads to review, use the dropdown menus in the top-right corner to sort or filter.
You can filter by:
-
Ad size
-
Student name
-
Grade
After filtering, results can be sorted in alphanumeric order.
✏️ Editing an Ad After Approval (Parent Requests Changes)
If a parent requests edits after submitting an ad:
-
The parent must contact the yearbook adviser.
The adviser will locate the ad in one of two places:
-
Approved
-
In Book
-
Then:
If the ad is In Book
-
Remove the ad from the page first.
-
Once removed, it can be denied.
If the ad is Approved (not yet placed)
-
Open the ad settings.
-
Go to Approved Ads.
-
Click Deny.
When denying:
-
Enter a reason such as Parent requested correction.
-
Click Deny & Send.
Result:
-
The parent receives an email with your note.
-
They can edit and resubmit their ad.
-
The ad returns to Pending for review.
Related Articles
Creating and Designing an Ad Section (Advisers)
If you have Parent Ads enabled in your project, you can begin creating ad sections and placing ads throughout your yearbook. This guide will walk you through the steps for creating ad sections, enabling ad pages, and designing your ad layouts. ? ...Parent Ads Guide
What are Parent Ads? Parent Ads is a new feature that allows parents to celebrate a student's achievements while also supporting your school. Here are some articles to get you started and familiar with Parent Ads Articles for Advisers and Yearbook ...Parent Ad Settings (Advisers)
As a yearbook adviser, you now have the option to sell Parent Ads. If you would like to offer Parent Ads, simply open your project and click "Parent Ads" from the left menu. You should then be redirected to Ad Settings (or you can click the Ad ...Ladder Management
⚠️ Note: This article applies only to books created in Ladder Format. If you're designing your book in Section Format, please see our Section Manager guide instead. ? What Is the Ladder? If your project is set up in Ladder Format, you’ll see a ...Managing Love Lines (Advisers)
What are Love Lines? Love Lines are text based dedications that can be written and purchased by parents to be printed in a school yearbook to honor and recognize a student's achievements. Enabling Love Lines If you are a yearbook adviser and would ...